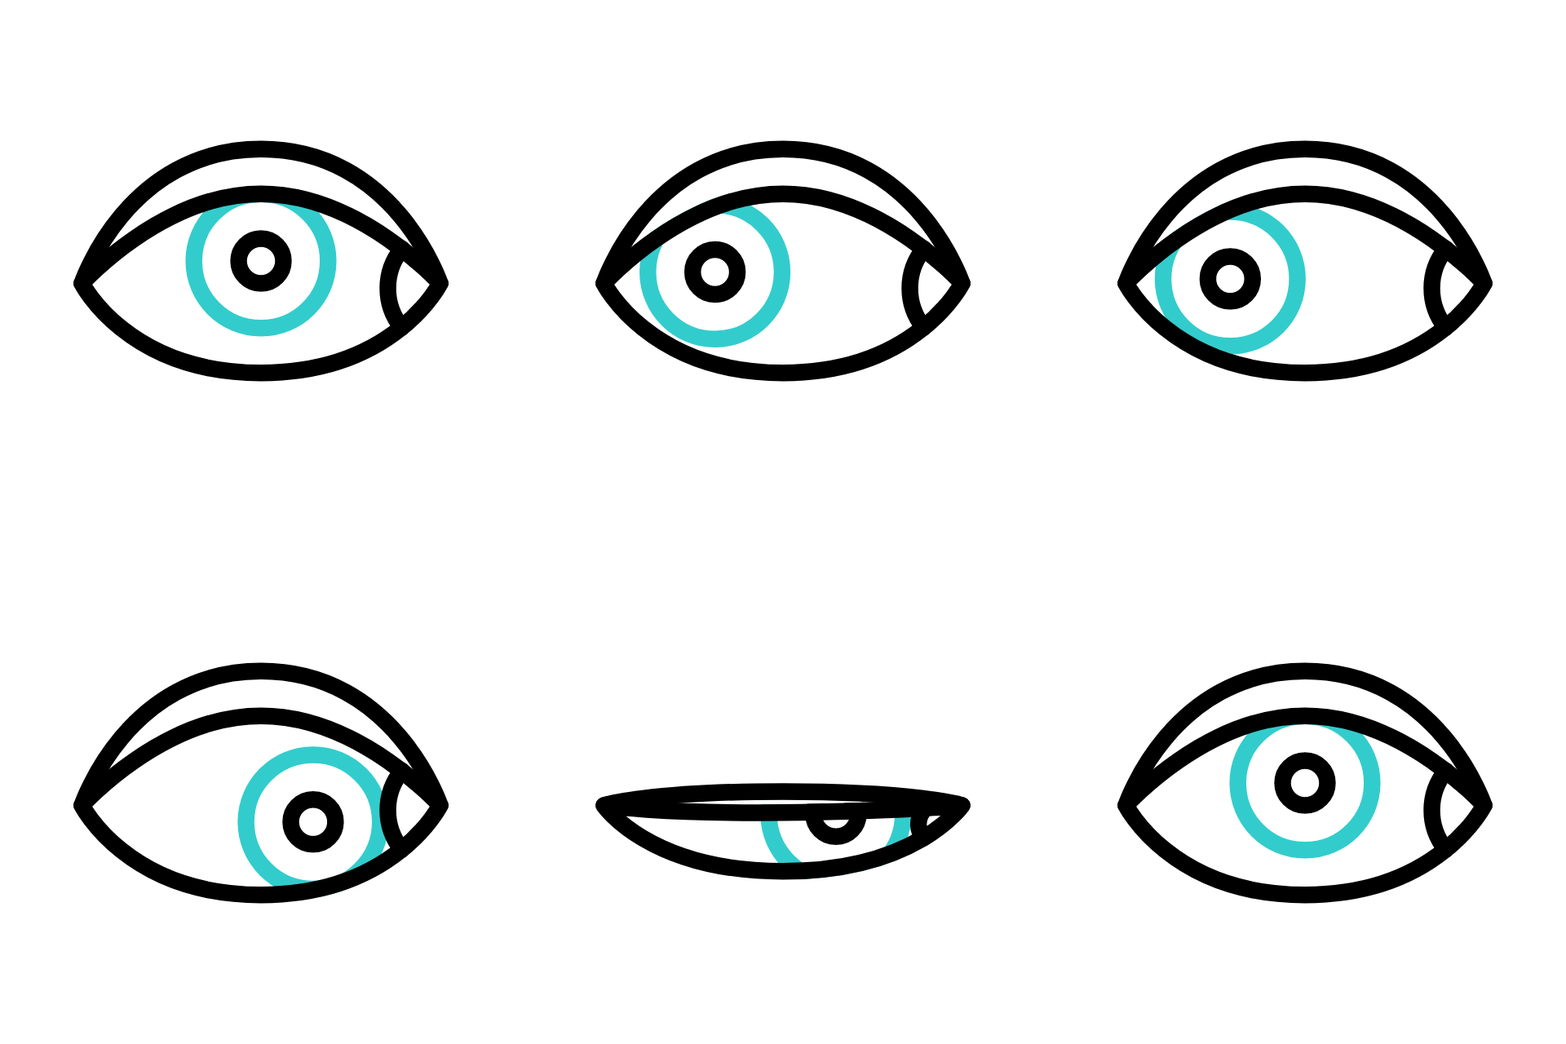
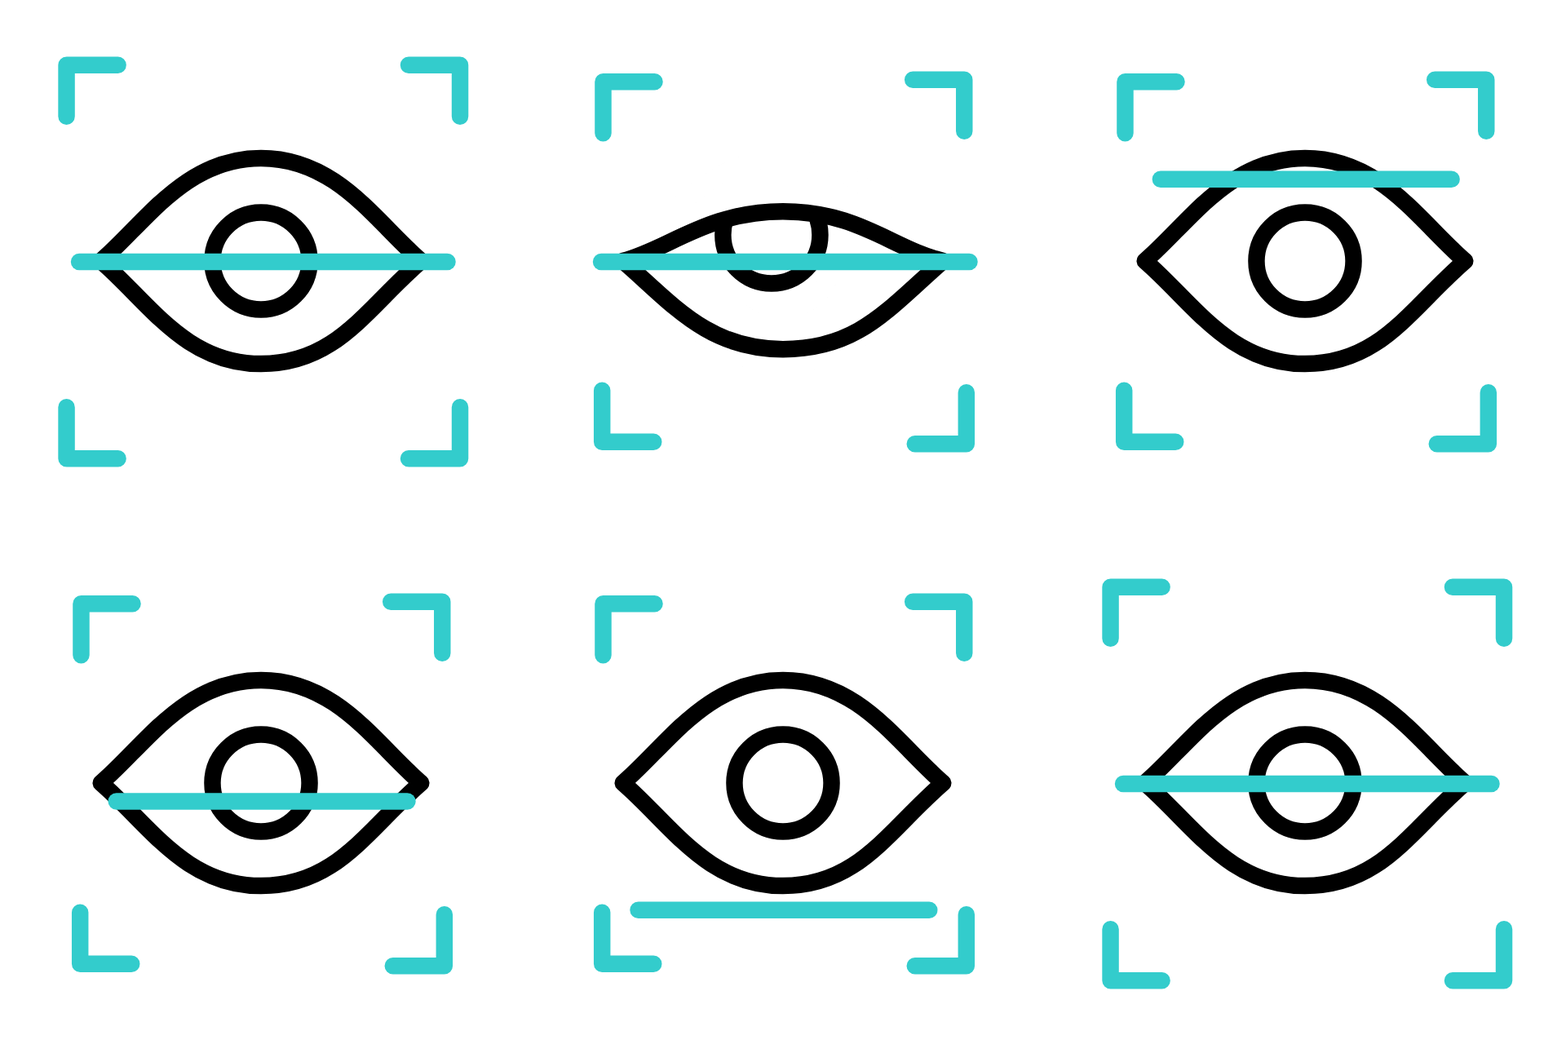
A good topography map is your baseline. The first topography that you capture determines the parameters of the first lens. In other words, the more accurate measuring will be, the more accurate initial lens can we provide. That’s why obtaining a good capture is so crucial, especially at the beginning of the ortho-k process. Besides, at every future follow-up visit you will use your baseline topography to compare it with the most actual topography map to evaluate lens positioning and overall outcome of the treatment. To make sure you got a good image capture, look at image of the eye first, then check out the colored map.
A high-quality map is critical for ortho-k treatment. Luckily, attaining good topography images is not that hard skill to learn.
In order to acquire an optimized corneal topography capture you need to image as much of the corneal surface as possible. Be aware that sometimes the image quality scores provided by a topographer can be misleading, because the tool rather scores the focus quality not an image quality itself and for ortho-k fitting you need both.
Some topographers, like Medmont, offer the possibility to create an image that represents a surface of the whole visible iris. This is so called a composite map. The composite map combines captures taken when a patient is looking in 5 different directions: centrally, right, left, up and down, pushing the Placido rings towards the periphery of the eye. This is a great feature that gives you the largest area of peripheral cornea shape thanks to which we are able to estimate the right parameters of ortho-k lens. The composite map could be helpful especially at the initial lens fitting stage.
Any reflections on the eye surface or a small fissure size block much information on the cornea. To get much more data in order to have a better understanding of the corneal shape, ask a patient to open the eye as wide as possible (if needed ask the patient, parent or another assistant to help you). But before that ask the patient to blink a couple of times to stabilise the tear film. If the patient has difficulties with opening eyes widely, you may hold eyelashes back with your fingers or even with a mini tooth flosser (do not press onto the cornea, because this may distort the corneal shape).
Remember, corneal topographer measures reflections from the tear film overlaying the cornea. This what the topographer measures in fact is the shape or curvature of the anterior tear film layer. If the patient’s tear film quality is bad, your measurements are bad. Check the tear film quality with a slit lamp before you take measurements.
Insufficient tears may result in dry spots that will cause the mire gaps (missing data). Asking a patient to blink a couple of times sometimes is enough to solve this issue. But if this doesn’t help, just instill a few drops of non-viscus eye drops and wait around 30 seconds before capturing an image.
Always take a few captures. Basing only on a capture you won’t be able to say if it’s accurate or not. Only by taking a few captures you can determine if there’s reproducibility and consistency between maps. That’s way, especially at pre-treatment phase, you should take minimum 4 captures, but 6 would be recommended.
Summing up. To make a good topography capture, always pay attention to the following:
© 2020 ALL rIGHTS RESERVED
SwissLens - SIMPLICITY WITHOUT LIMITS
We are currently in annual team meeting.
Our phonecall line is currently closed, We apologize and try to do our best to come back as soon as possible.
Customer service email : lens.order@swisslens.ch